Create Task
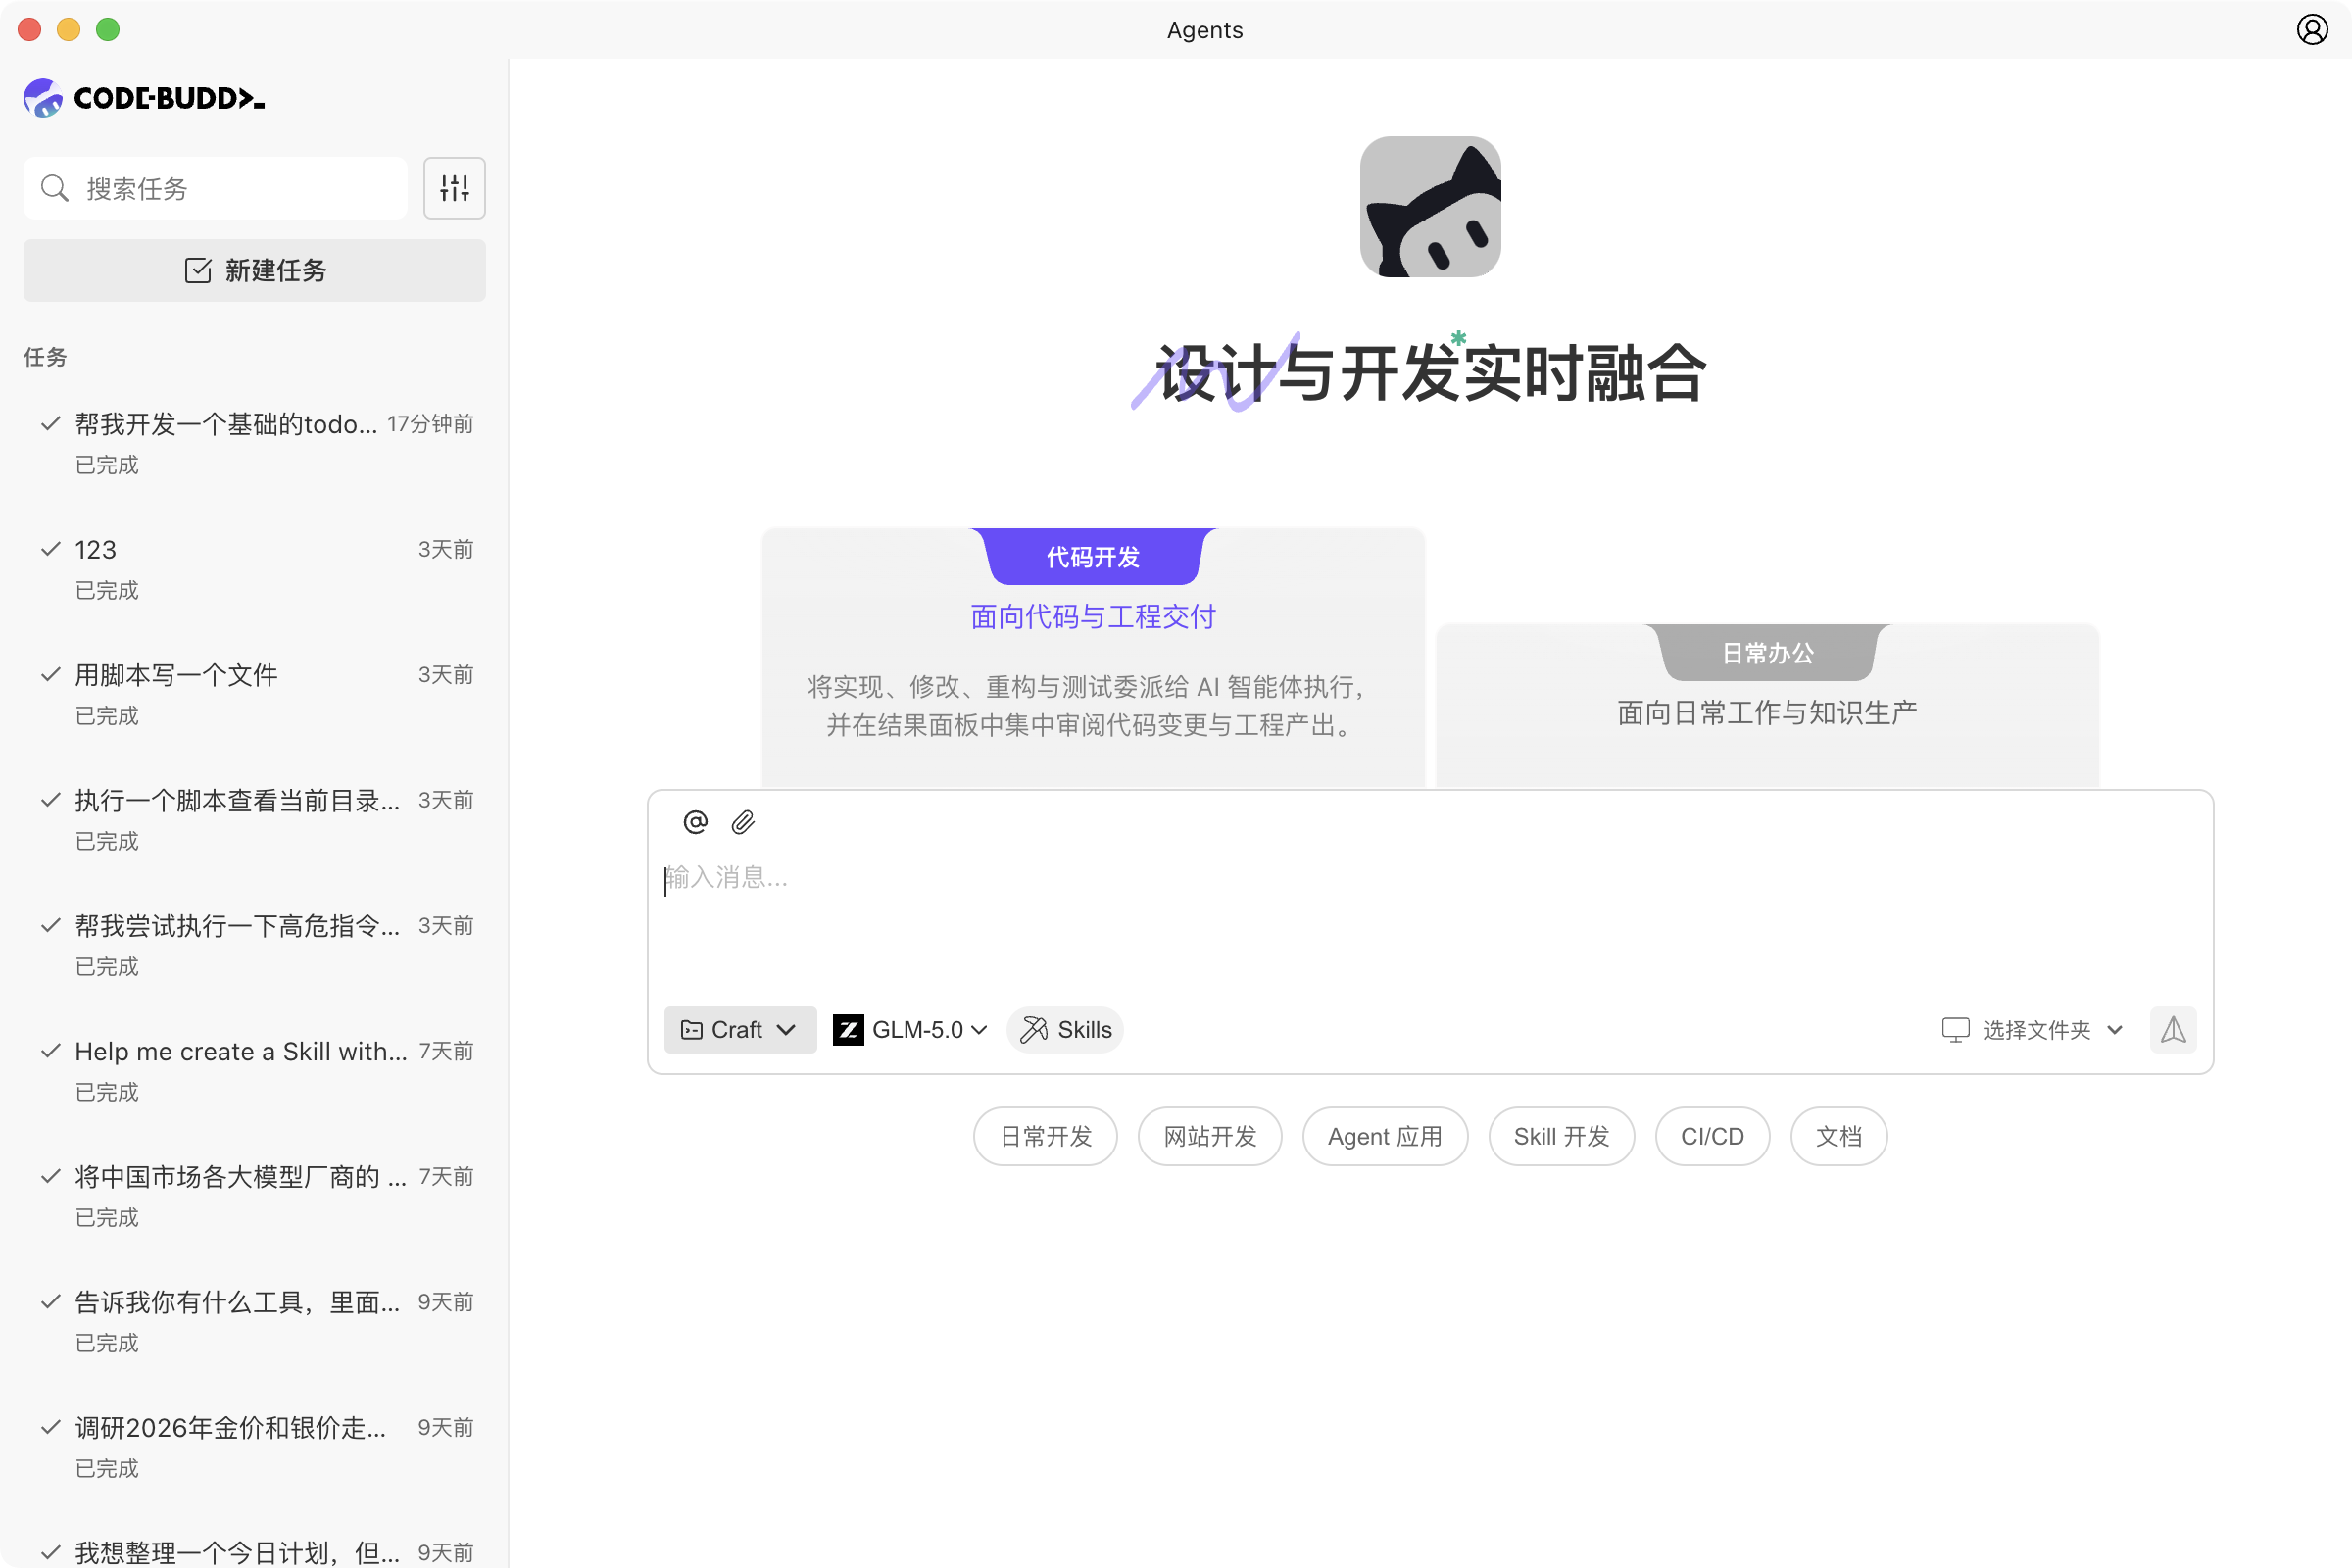
Selecting Work Mode
When creating a new task, you need to first select a work mode. The current interface provides two modes:
| Mode | Description | Default |
|---|---|---|
| Work Mode | For general work scenarios like documents, reports, research, data analysis | Selected by default |
| Programming Mode | For code development scenarios, suitable for implementing features, fixing issues, refactoring code | - |
Mode Differences:
- Different task types: Work Mode is better suited for content creation and general collaboration; Programming Mode is better for code-related tasks.
- Different working directories: Programming Mode typically requires specifying a local project directory; Work Mode can start directly.
- Interface memory: The system remembers your last selected mode and auto-fills it when creating the next task.
Filling in Task Content
You can create a task through the following steps:
- Click the New Task button on the left to enter the new task page.
- Select Work Mode or Programming Mode.
- Directly describe your requirement in the input field, e.g., "Help me add a user login feature to the current project."
- Adjust the run mode and model below the input field as needed.
- Click the send button or press Enter to start the agent task.
Selecting Working Directory
In Programming Mode, it's recommended to specify a local working directory for the task:
- Click Select Folder in the bottom-right corner of the input field to choose the directory for the current task.
- Once selected, the agent will read, analyze, and modify code based on that directory.
- If you frequently work in the same project, prioritize selecting the currently opened project directory to reduce switching.
Adding Context
When creating a task, you can add context to help the agent understand your requirements faster:
| Method | Description |
|---|---|
| Reference Context | Use @ to reference files, documents, rules, and other information |
| Paste Screenshots | Use Ctrl/Cmd + V to paste images directly from clipboard |
| Upload Files | Click the upload button or drag files into the input field |
| Add Description | Clearly specify goals, scope, constraints, and expected output in the task description |
It's recommended to include the following information:
- What's the goal: What feature to implement, or what content to produce.
- What's the scope: Only modify the current module, or coordinate across multiple directories.
- What are the constraints: Tech stack, style requirements, naming conventions, deadlines, etc.
- What's the success criteria: Whether you want to see code, documentation, analysis conclusions, or a previewable page.
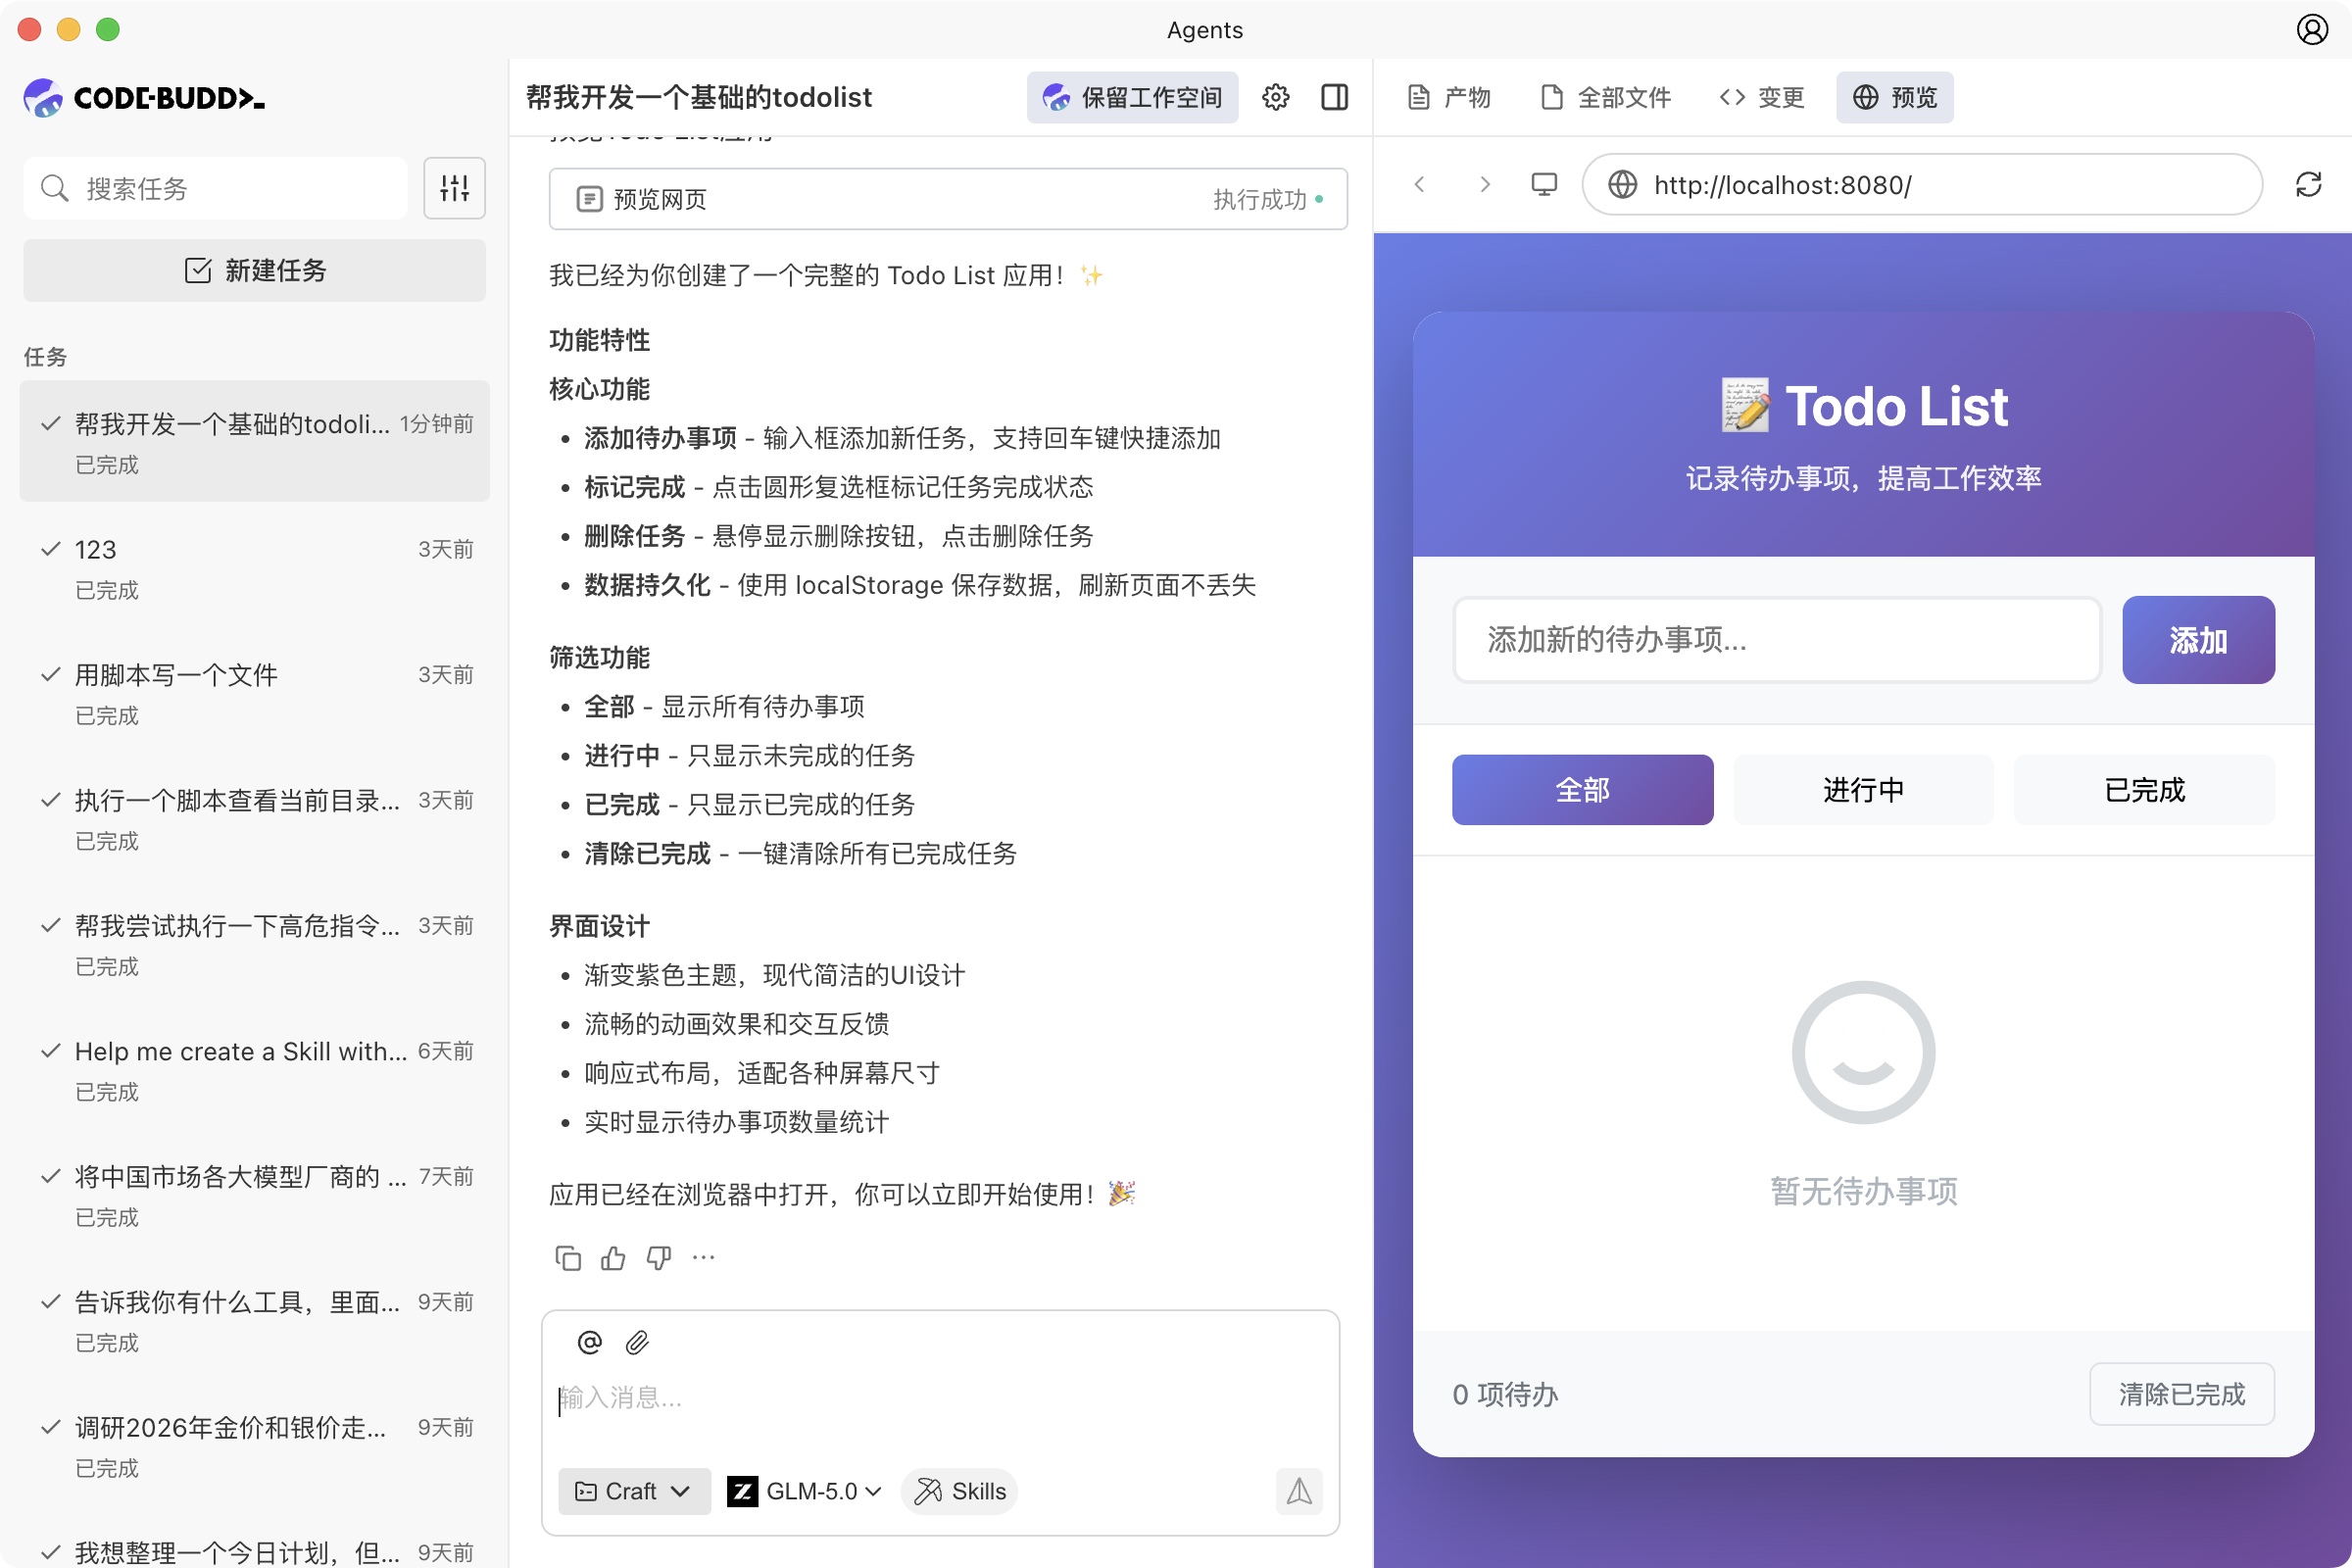
After Task Starts
After the task is successfully created:
- The new task will appear in the task list on the left.
- The conversation area will continuously display the agent's execution process and output.
- The right context area will show artifacts, all files, changes, and preview results based on the task type.
- You can continue adding messages, or create other tasks to progress in parallel.