Quickstart
Product Overview
What is CodeBuddy Agents
CodeBuddy Agents is the Agent mode within CodeBuddy IDE, designed for intelligent agent-driven development scenarios. You can collaborate directly with AI agents in the IDE, break down requirements into multiple parallel tasks, and view artifacts, all files, code changes, and preview results in the same interface.
Core Advantages
- Parallel Multi-tasking: Support for initiating and managing multiple agent tasks simultaneously, ideal for parallel exploration, coding, bug fixing, and documentation.
- Better for Review: Through artifacts, all files, and changes views, you can more clearly review the agent's execution process and outputs.
- Direct Result Preview: For frontend and application tasks, combine with the preview view to quickly see running effects while making adjustments.
Use Cases
Programming Mode -- For code development scenarios:
- Daily coding assistance: code generation, code review, bug fixing, refactoring optimization.
- Project understanding: quickly understand the architecture and logic of unfamiliar codebases.
- Website/application development: full-process assistance from requirements to code.
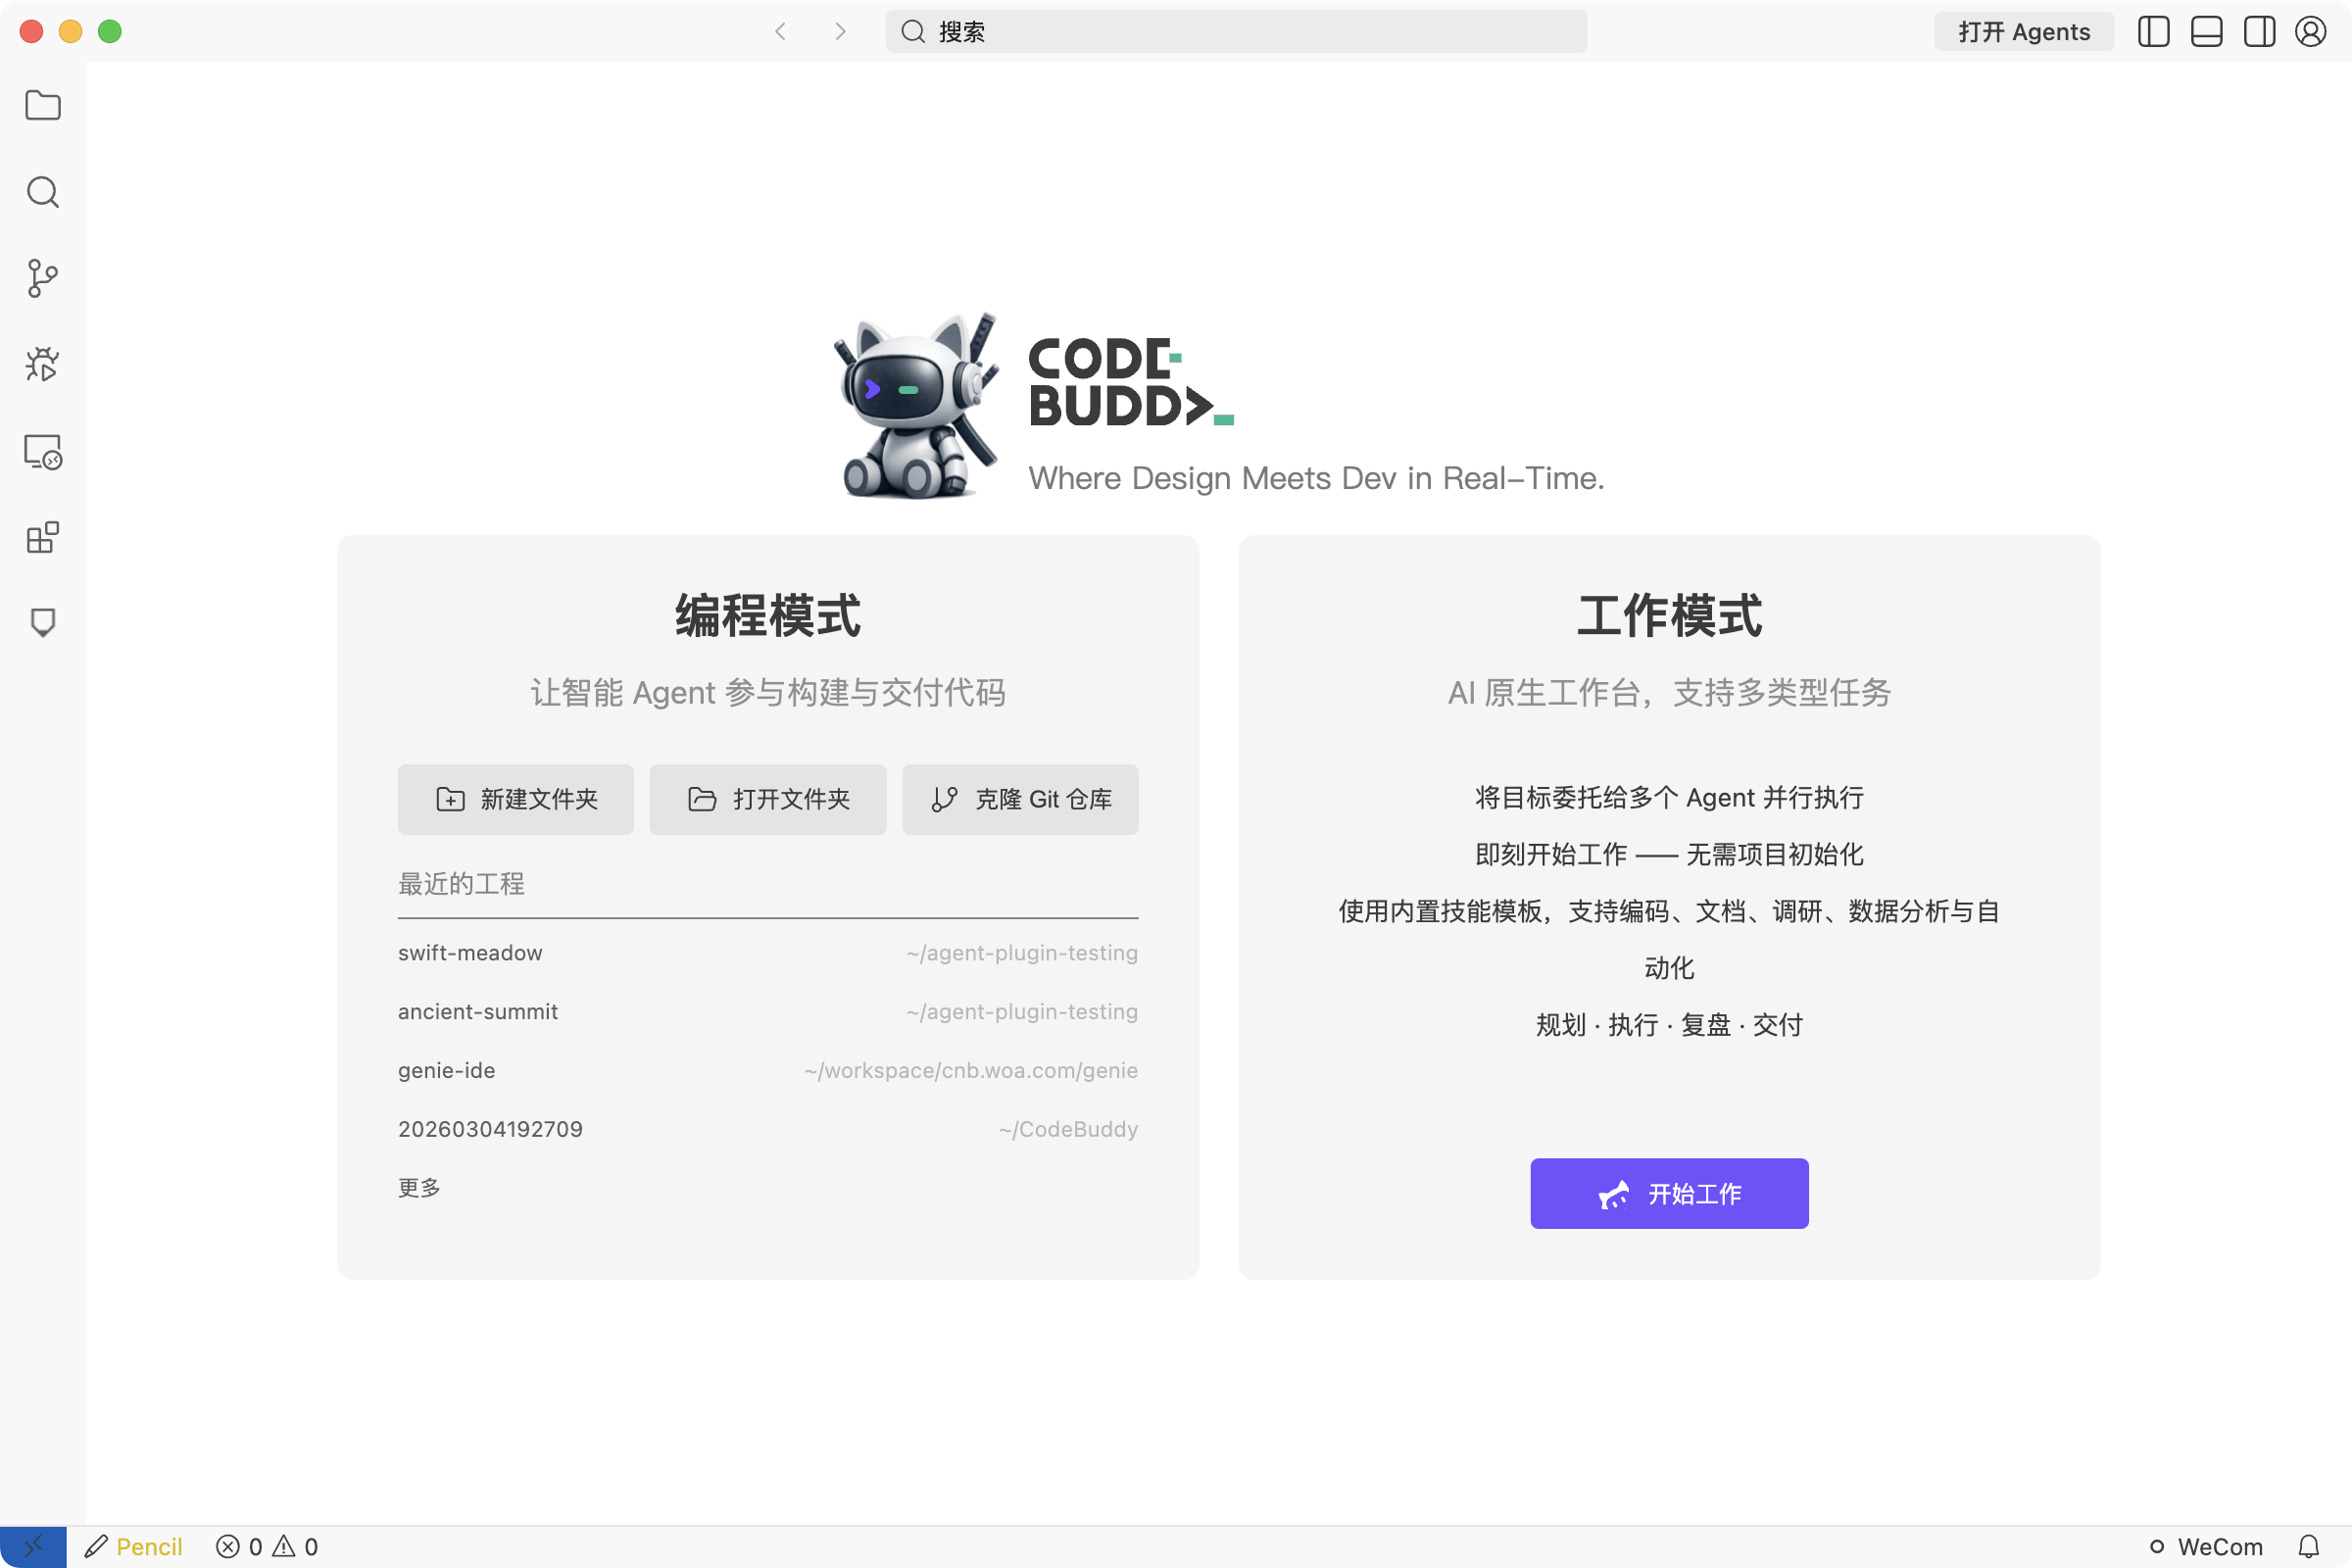
Work Mode -- For general work scenarios for all developers (default mode):
- Document generation: README, API documentation, technical design documents, etc.
- Data analysis: upload data files and let the agent help you analyze and visualize.
- PPT/report generation: generate presentations and reports from requirement descriptions.
- Deep research: conduct in-depth research on complex issues and output reports.
- Email editing, weekly report generation, and other office scenarios.
Requirements
- IDE: CodeBuddy IDE installed and open.
- Project: A local project opened in the IDE for collaboration.
- Network: Network connection required to call AI model services.
- Account: Registered and logged into a CodeBuddy account.
Entering Agent Mode in CodeBuddy IDE
- Open CodeBuddy IDE and navigate to your project.
- If a project is already open, you can enter Agent Mode directly through the Open Agents button in the top-right corner.
- Alternatively, click the Start Working button at the bottom of the Work Mode card on the IDE homepage to enter Agent Mode.
- If you haven't logged in yet, the system will display a login guide page. Click the login button to complete authentication.
Starting Your First Task
- After entering the Agent interface, you'll see the new task page with a welcome message, input field, and task entry points.
- The page defaults to Work Mode. If you need to do code development, you can switch to Programming Mode.
- Enter your requirement in the input field, for example: "Help me add a user login feature to the current project."
- You can select the run mode and AI model.
- Click the send button or press Enter to start the agent task.
- The agent will automatically use your currently opened project and branch in the IDE as the working context, no additional configuration needed.
- You can continue creating other tasks to run multiple agent tasks in parallel, and switch between them in the sidebar at any time.
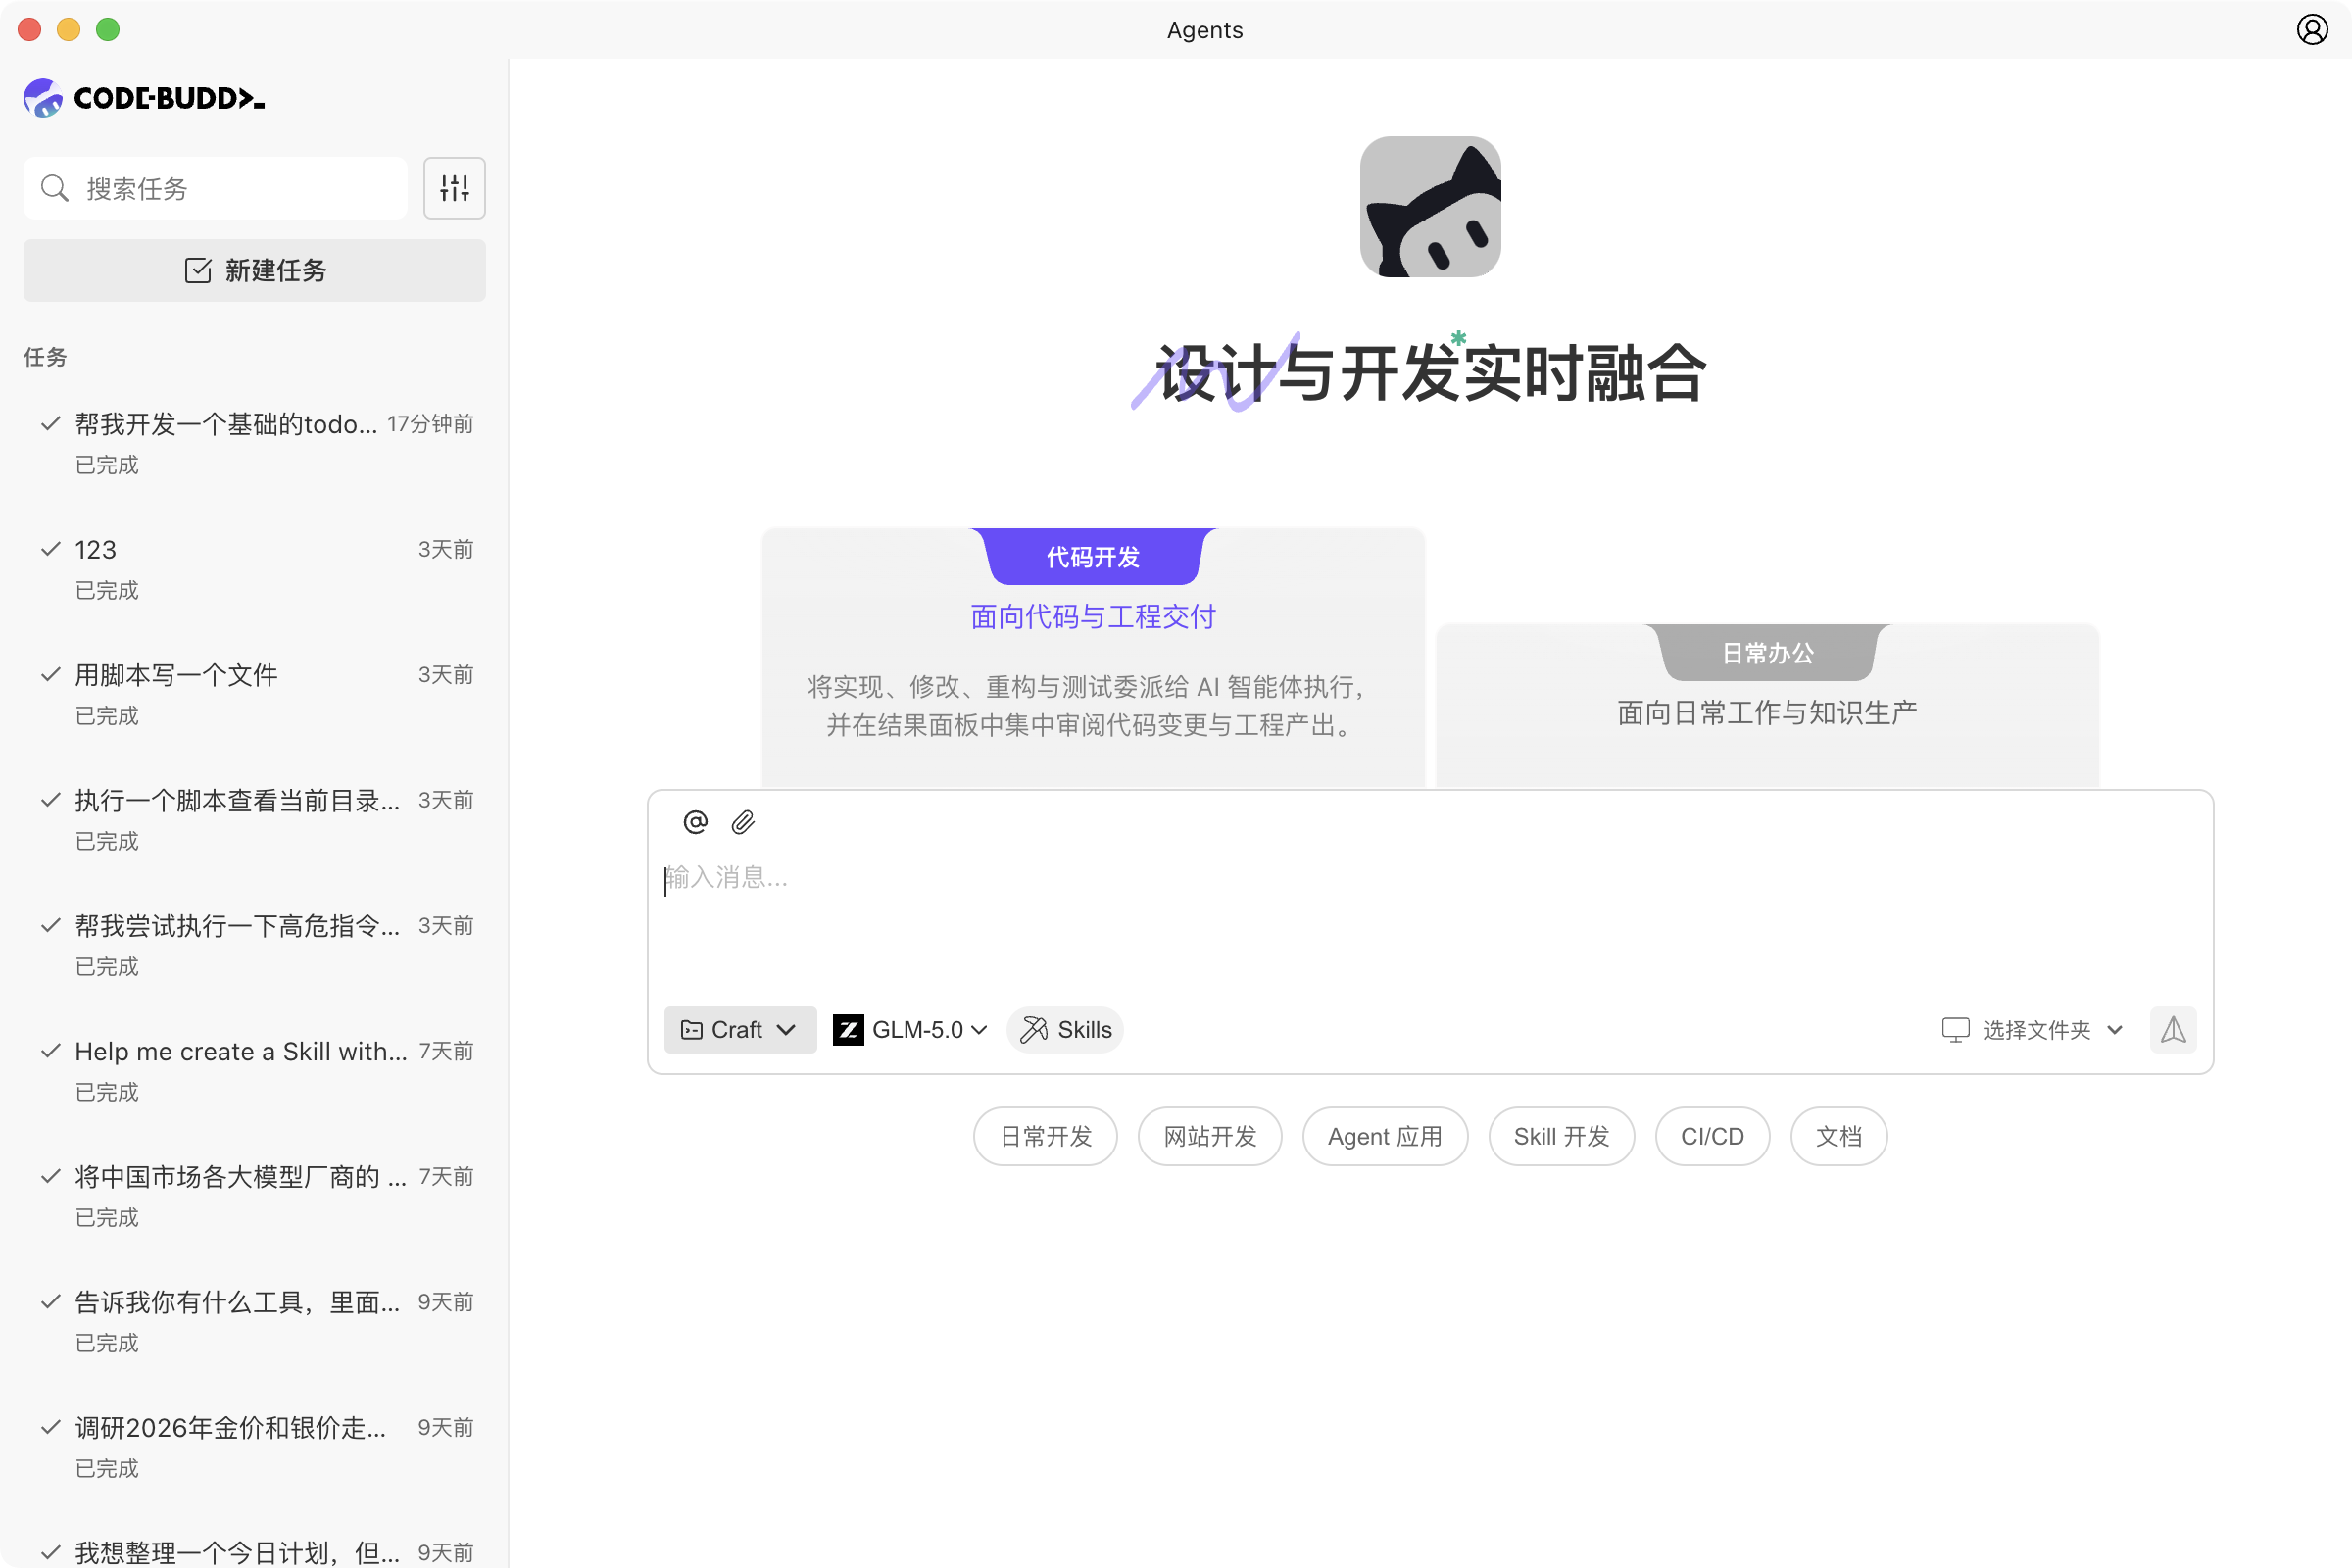
Interface Areas Overview
| Area | Function |
|---|---|
| Sidebar | Displays task list (grouped by folder), supports search and management. User avatar shown at bottom. |
| Conversation Area | Core interaction area, contains task title bar, message list, and input field. |
| Context Area | Right panel showing artifacts, all files, changes, preview, and other views. Can be expanded or collapsed via the toggle button in the task title bar. |